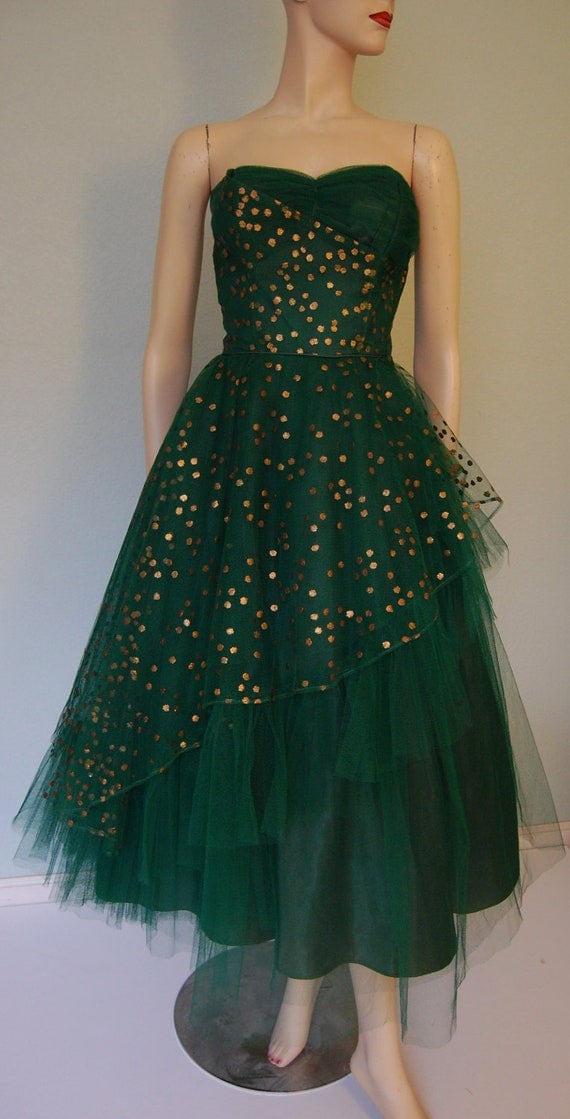
So I think it's pretty much a fact that making your dress is the cheapest thing to do-- unless you buy it from a thrift store or get it free as a gift or something which is awesome
But these are some of the videos I think are the best (and easiest for those w/out real training) on the youtubes... hopefully it will be helpful to y'all:
7iggy is a channel that has a bunch of videos, but here's a few
Threadbanger, because seriously they started all of this sweet, sweet madness
*Note: video has three parts, this is the first, but you can find them on her channel or on related videos
** giannyl has a TON of really simple tutorials (I've referenced them on previous blog posts) so check it out! I just put a few of them, but trust me the rest of her videos are worth checking out (dont forget to click read more because, surprise, there's more videos!)
[or insert other occasions of fun colorful formal wear]
Even though they are way out of my, and most prom goer's price range, I think they're still fun to oogle at because they're so girly and fun.. I'll probably do another post with more affordable fancy dress inspiration/possibilities.
Helpful tip: To be safe, it's always a good idea to go a few inches bigger than you think you need when cutting.
1) To start, I cut a trapezoid- like shape with my measurements on the bias. I made it about six inches longer and added about 3-4 inches extra on one side just in case. I also draped it on myself to check the measurements. Bias defined here
B/2= Half the waist
A/2= half the hip measurement
C= waist to hip measurement
2) To make sure it was symmetrical, I also cut on the fold of the center front (as seen in the crude paint drawing).
3) Then I draped it inside out as if I was going to wear it and pinned and marked a seam in the fit that I wanted. After marking on both sides of the seam, I took it off.
4) With about a half an inch seam allowance, I cut along the seam line I just drew.
5) As done, in the picture above I finished the edges with a zig zag stich and then did a blind hem at the bottom. This is a good video on how to do a blind hem:
** I hemmed before sewing the skirt together, but generally you want to do this last. 6) Add a waistband (if you want to) and then attach an invisible zipper, and sew the back seam closed. Press all seams. I learnt how to from the same series as the blind hem above.
Final product!!
Done, and happy sewing! (Just so you know, I was not wearing shoes in the picture, which is why there was so much of a train on the ground)
You could also make/buy a top and attach it to the skirt (in that case the zipper would have to incorporate the top) to make it a dress
If there is anything that was unclear in the instructions please leave me a comment! Also, I'm self taught, so any tips are welcome too
This is a project reminiscent of the Great Drapo video I had posted a while ago...
Seriously, this is so easy to do yourself, I had to point it out.
You will need more fabric than the video shows, and you want it a bit longer than you think you need it to be so that you can adjust as needed. For my height ( I'm 5' 6'') I would get about 2 1/2 yards of fabric.
The video shows you the basic steps you would take-- taking the top corners of the fabric and draping it across your body, the corners pulled up to form the sleeves and the excess fabric on the open side pinned and sewed to create the side seam in the fit that you want. However, you wouldn't just tie the corners, you would gather and sew them together so you don't have the bow of fabric (to get the look of the strap in the dress above). There also seems to be a strap underneath the arm to keep the dress in place and covering the bust area. This may or may not be necessary depending on how you drape it.
It's a good idea to choose fabric that drapes well and to consider-- especially when buying prints-- what that pattern will look like on a large scale... and whether you want to deal with trying to them line up. Naturally stretch fabric would be easier to work with, but non stretch fabrics like satin, chiffon, etc would work well for a grander look. Bias cut fabrics, though a bit trickier to work with, would make the fabric drape better as well.
Remember to test it out before you begin sewing or chopping up the fabric
Another example (from the fabulous 1930's) is this red number in silk chiffon.
To make this, you just wold leave a slit in the front of the fabric (maybe using multiple layers of chiffon and a lining fabric)
I did my own version using a synthetic stretchy fabric with awful amounts of loose glitter...